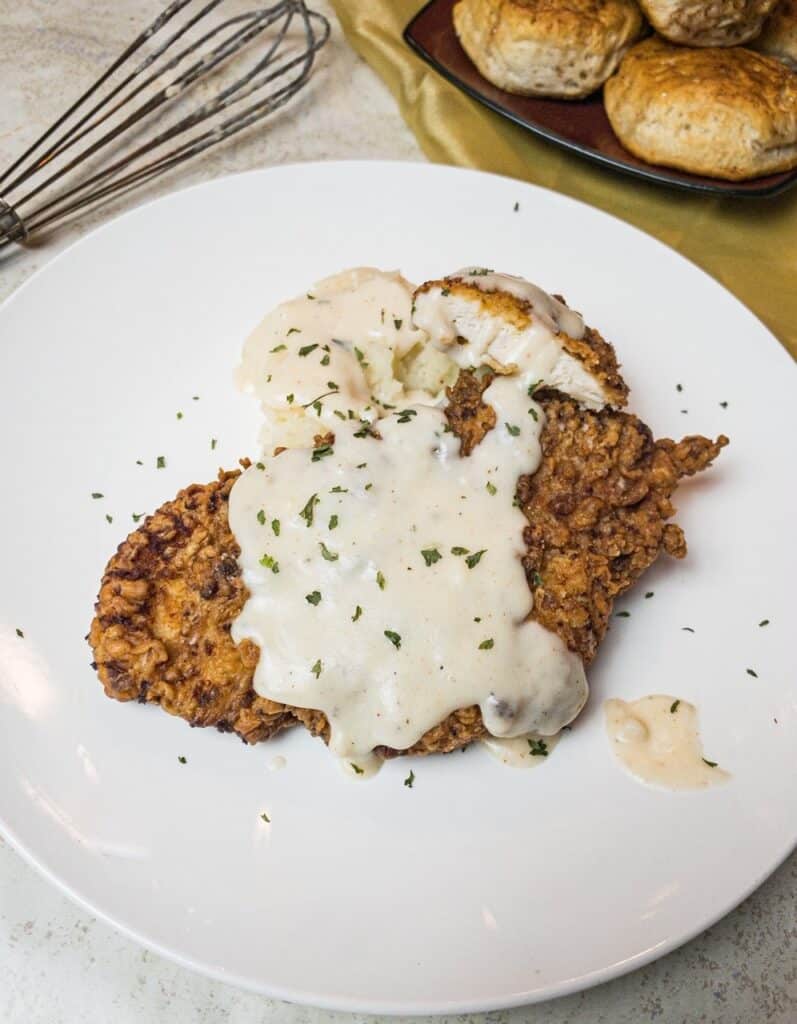
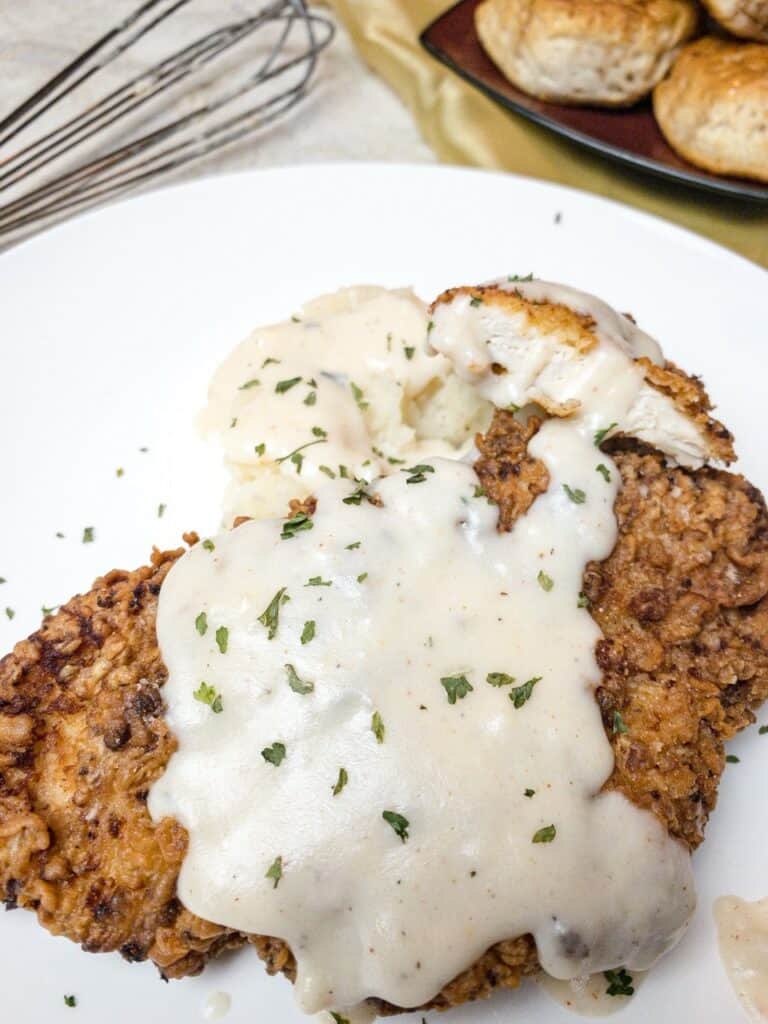
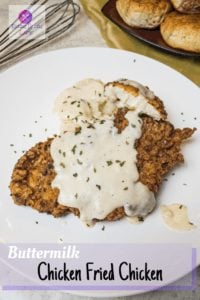
Buttermilk chicken fried chicken is chicken breast marinated with buttermilk and seasoning then breaded and fried to golden perfection. Crunchy on the outside, and perfectly moist and juicy on the inside. Enjoy it over a bed of mashed potatoes and smother with gravy for a true southern classic!
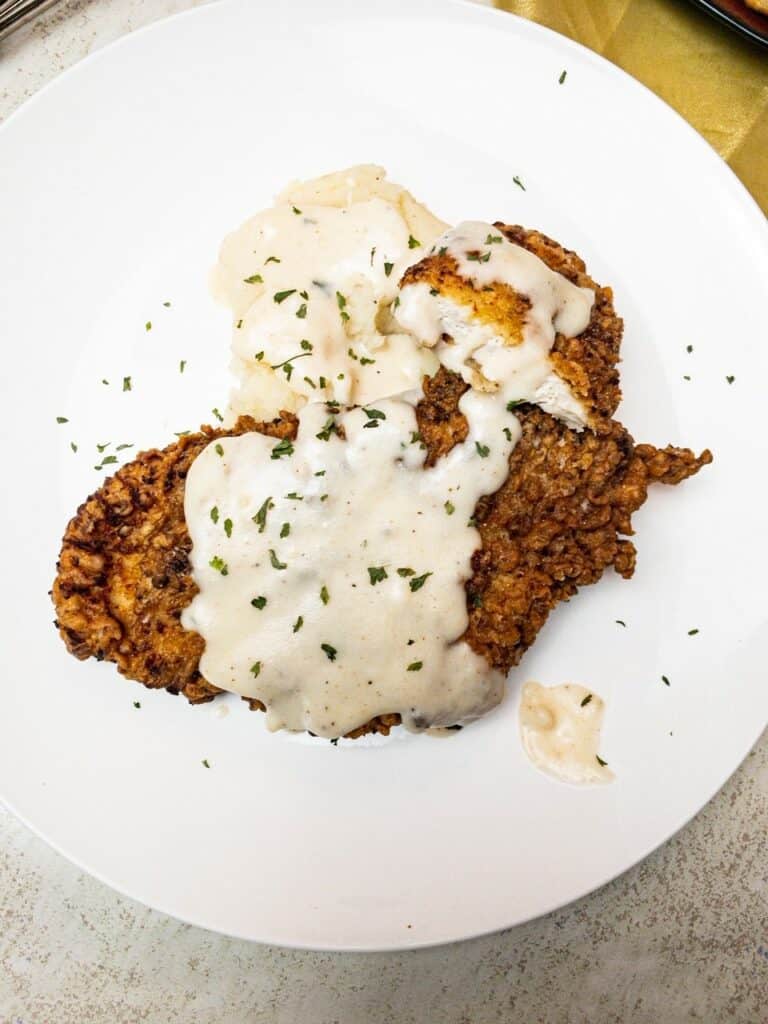
If you know anything about Southern cooking, you know there will always be a classic "fried chicken" dish involved. This one is our families absolute favorite! We are talking generations of cooks whipping up this southern classic.
Frying chicken is a quick and sure-fire way to get dinner on the table in no time. Even better though, bathe your chicken in buttermilk before frying! Let's be honest though, it's not everyday that you pick up a container of buttermilk at your local grocer. Be sure to grab some next time you're there, just for this recipe!
Why use the buttermilk?
When chicken is soaked in buttermilk, it has the ability to tenderize it tremendously. Buttermilk is a bit acidic, so the enzymes that are present help break down the proteins in the chicken. This results in a very juicy and tender cut of chicken.
What is the difference between brining and marinating?
Marinating meat is a way to impart flavors into it. This means, add seasoning, spices, and even liquids to the meat and letting them sit for awhile. Most marinades also have an acidic component that assists with breaking down the proteins in meat. Breaking down the proteins provides you with the most juicy, and tender piece of meat!
Brining on the other hand, is a way to provide more moisture to the meat. A mixture of water and salt (along with other spices) are generally used for brining. The salt helps the liquid penetrate into the meat, which makes it juicier.
How long should I marinate the chicken in the buttermilk?
I highly recommend that you marinate the chicken in the buttermilk/seasoning mixture for 24 hours. This allows the buttermilk enough time to break down the proteins and penetrate the chicken with all the delicious flavor. However, if you are pressed for time, at least allow the chicken to soak for 2 hours.
Do not leave the chicken in the buttermilk for too long, or it will turn into mush! Seriously though, we're talking science here, the acid will break down the proteins way more than desired if it's left too long.
Let's make the Buttermilk Chicken Fried Chicken!
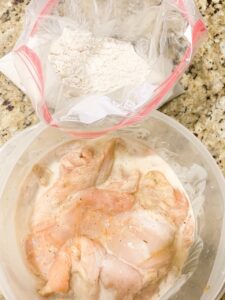
- Use a gallon Ziplock bag and add the buttermilk, hot sauce, and seasoning salt. Add the chicken to the Ziplock bag, close it tightly and work the chicken around to ensure it is all coated with the buttermilk. Refrigerate for at least 2 hours.
- Remove the chicken from the refrigerator 7-10 minutes before frying to take the chill off. Pour the vegetable oil into a cast iron skillet and heat of medium.
- Add the flour to another Ziploc bag, or a large bowl and stir in the garlic powder, paprika, Lawry's seasoning salt, and black pepper. Mix well.
- Using tongs, remove the chicken from the buttermilk brine one at a time, and dredge it in the flour/ seasoning mixture. Turn it over and ensure both sides are coated well with the flour.
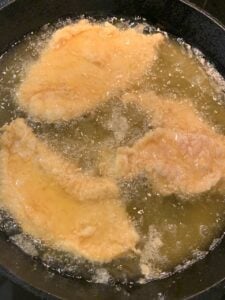
- Gently place the coated chicken into the hot oil. Fry each piece of chicken for 5-7 minutes, turn it over and fry an additional 5-7 minutes.
Pointers for frying chicken:
Use a well seasoned cast iron skillet if you have one! It makes a huge difference in the overall crispiness of the chicken.
DO NOT overcrowd your pan! Patience is key with frying food. You don't want a greasy mess, and you definitely want your meat to be cooked thoroughly.
Place the meat into the grease very gently. There may not be anything worse than grease splatter all over the stove, or even worse, on your skin!
After you remove the chicken from the hot oil, set it on the cooling rack for at least 5 minutes before eating. One- so you don't burn your mouth, and two- the skin gets time to settle into its crispiness.
Use tongs or gloved hands when handling raw meat. We definitely do not need cross-contamination here!
Reheating fried chicken: preheat oven to 375 degrees, place on a cookie sheet and heat for 15-20 minutes. Whatever you do, do not microwave fried chicken!
Lastly- ENJOY!
📖 Recipe
Ingredients
- 6 thinly sliced Chicken breast
Buttermilk Brine
- 2 cups Buttermilk
- 2 tablespoons Hot sauce
- 2 tablespoons Lawry's seasoning sauce
- 1 tablespoon Black pepper
Frying the Chicken
- 3 cups Vegetable oil
- 2 cups All purpose Flour
- ½ tablespoon Garlic powder
- ½ tablespoon Paprika
- 1 tablespoon Lawry's seasoning salt
- ½ tablespoon Black pepper
Instructions
- Use a gallon Ziplock bag and add the buttermilk, hot sauce, and seasoning salt. Add the chicken to the Ziplock bag, close it tightly and work the chicken around to ensure it is all coated with the buttermilk. Refrigerate for at least 2 hours.
- Remove the chicken from the refrigerator 7-10 minutes before frying to take the chill off. Pour the vegetable oil into a cast iron skillet and heat of medium.
- Add the flour to a large bowl and stir in the garlic powder, paprika, Lawry's seasoning salt, and black pepper. Mix well.
- Using tongs, remove the chicken from the buttermilk brine one at a time, and dredge it in the flour/ seasoning mixture. Turn it over and ensure both sides are coated well with the flour.
- Gently place the coated chicken into the hot oil. Fry each piece of chicken for 5-7 minutes, turn it over and fry an additional 5-7 minutes.
- After chicken is golden brown, remove it from the hot oil and place it on a cooling rack that is set over a sheet pan, to drain excess oil.
Notes
Recommended Products
Nutrition
PLEASE REPIN THIS RECIPE TO SAVE AND SHARE WITH FRIENDS!




Jyoti basu says
This looks is so delicious. They are very useful content. I will try my home. Thanks for sharing your info.
Tamara J. says
Thank you. Enjoy!
Kevin says
Dear Tamara I am a South African, and I would like to know what your recipe is for Willie Mae's style wet batter. I would like to bring that style of frying chicken to South Africa
Regards
Kevin
Tamara J. says
Hey Kevin! I will have to post my southern fried chicken "wet-batter" recipe very soon. Come back and visit!